Author’s Note: I wrote this article four years ago… and wow, has time changed! When it was written, there was no such thing as AI-generated images, Midjourney, Adobe Firefly, etc. (nor any of the controversies that followed in their wake). Still, I use some of these older techniques from time to time, just to give my images a different look and feel versus what an AI-generated image might look like. So enjoy!
In a one-shot RPG adventure, putting effort into your character sheets really matters.
In a campaign game, players spend up to hours creating their own characters. They consider classes and abilities, roll dice, shop for equipment, and think of a backstory. This creation time means when players start the first session, their characters mean something more than the numbers on the paper.
But in a one-shot adventure, players have spent none of that time. They just grab a character and go. When you only have a few hours to play, it’s even more important to give your players more than the numbers. As one woman at my last convention table said, “In 90% of my games, I’m just handed a race and a class and am then expected to do all the hard work inventing a character interesting enough to play.”
One of the ways I create more fun character sheets is investing effort into character portraits. Here’s a step-by-step guide to create portraits that look more interesting than Googling a photo from a movie and calling it done.
Disclaimer: I am not an artist, but I am handy with Photoshop. This tutorial requires some basic knowledge of Photoshop or some other similar art tool.
Step One: Google a Photo
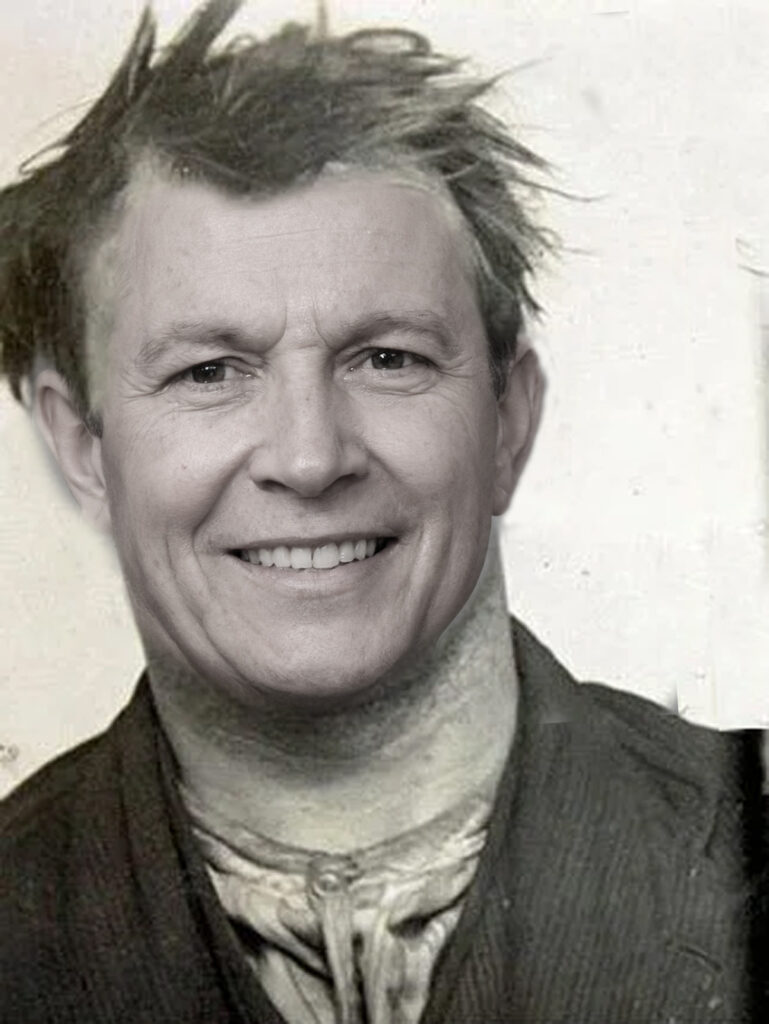
In this example, I want to create a Harry Mudd-type, con man for my 1930s Lovecraftian game. First thing I do, is Google a good 1930s photo so the outfit and hair style look right:

For good print quality, I look for high-resolution images. If it’s close, I scale them up (knowing I’ll lose detail, but that’s okay for this method). In this example, I am using a 3″ x 4″ x 300dpi resolution (or, 1200×1600).
Step Two: Create a Fake Person
Now, I leverage the amazing website www.thispersondoesnotexist.com, which procedurally creates photographs of people using machine learning. It’s amazing, though slow as you have to refresh a bunch of times to find a good photo. After a minute or two, I find this handsome devil:

Step Three Basic Photoshop Work
Using Photoshop, or some other tool, I paste the Fake Person on top of the original image in its own layer. I scale it to be the same size, and I use an eraser tool to erase the border of the Fake Person and line it up as best as possible:
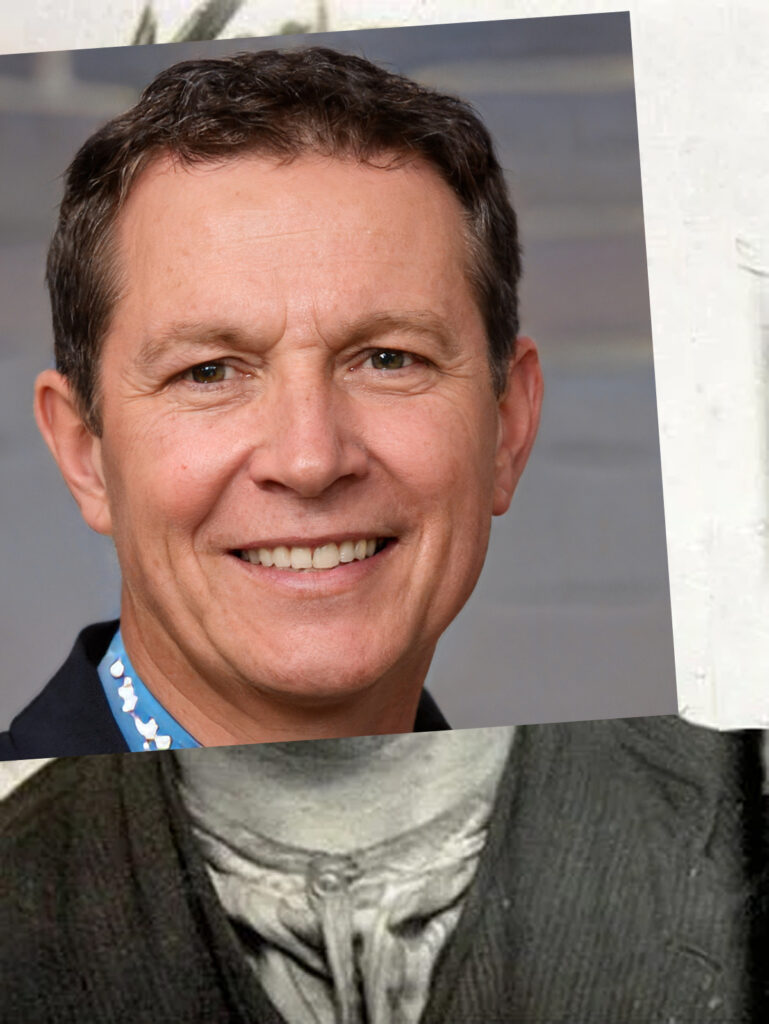
Note you may have to erase parts of the original image (I use a clone brush) so your portrait does not have multiple ears or other weird deformities.
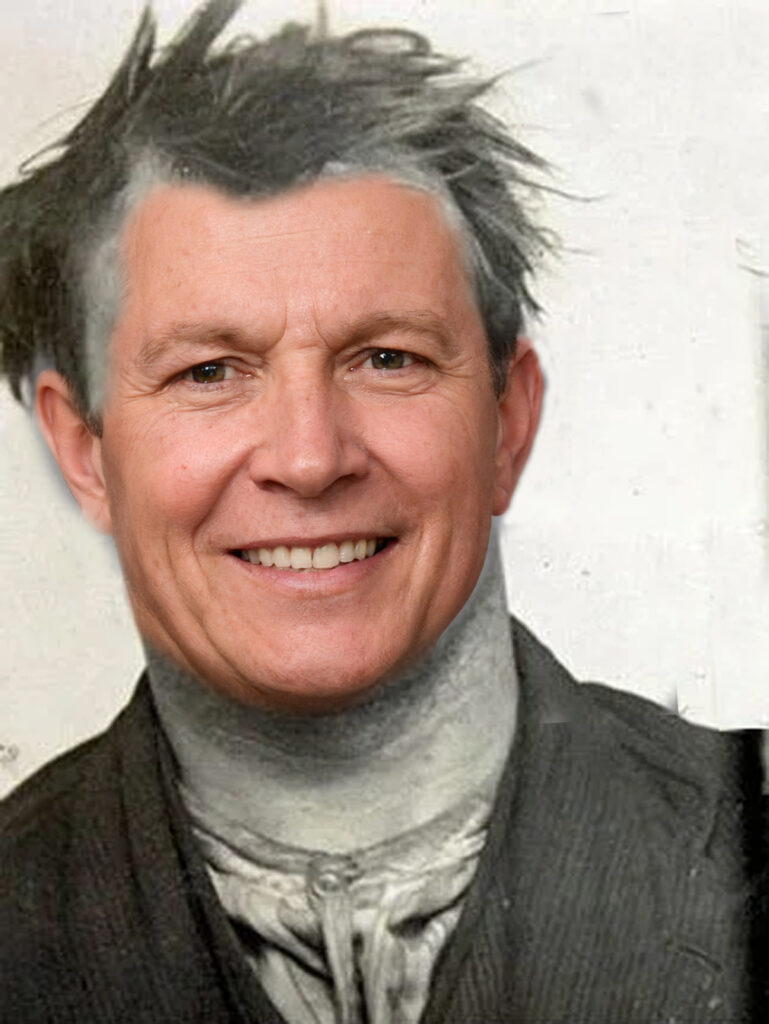
Step Four: Adjust contrast, saturation, brightness
I then try to adjust the contrast, saturation, and brightness of the new layer to match the photo underneath. Advanced Photoshop users can also adjust settings like Levels, apply a little blur or grain to match the same image, etc. But we’re about to mangle it, so it doesn’t have to look perfect:
Step Five: Stylize with Neural Art Effects
To apply some artistic flair, take your new picture to photofuneditor.com, which also uses machine learning to apply smart filters to photographs. Simply drop your photo on to one of their many neural effects and, like magic, you get an artistic result back. Here’s one I like, though it’s a bit colorful:
I then take this back into my photo editor and play with brightness, saturation, contrast again:
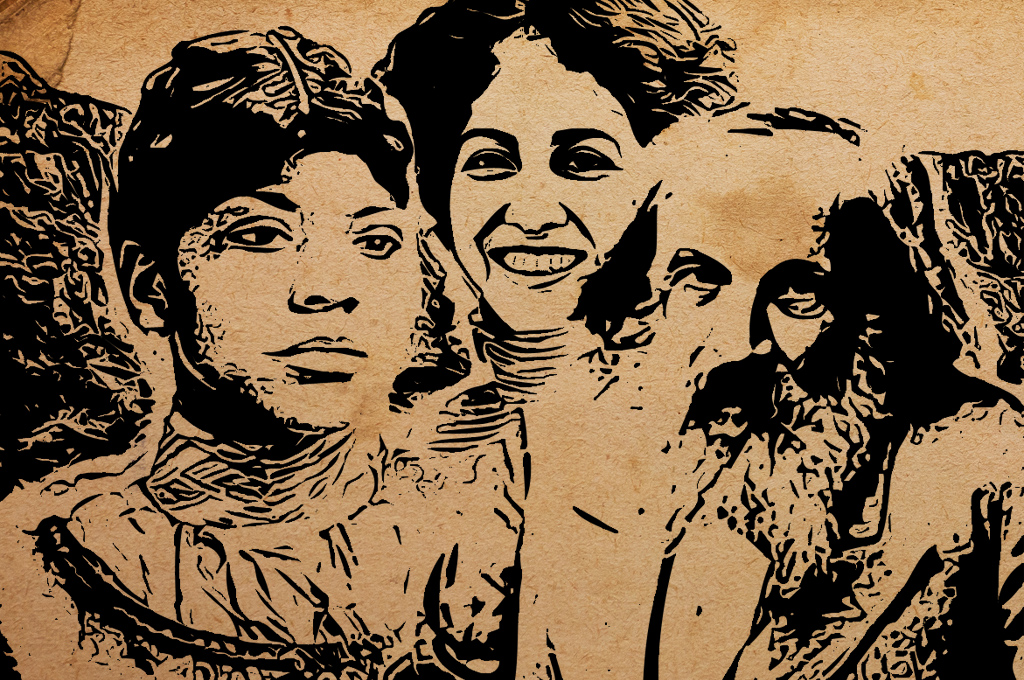
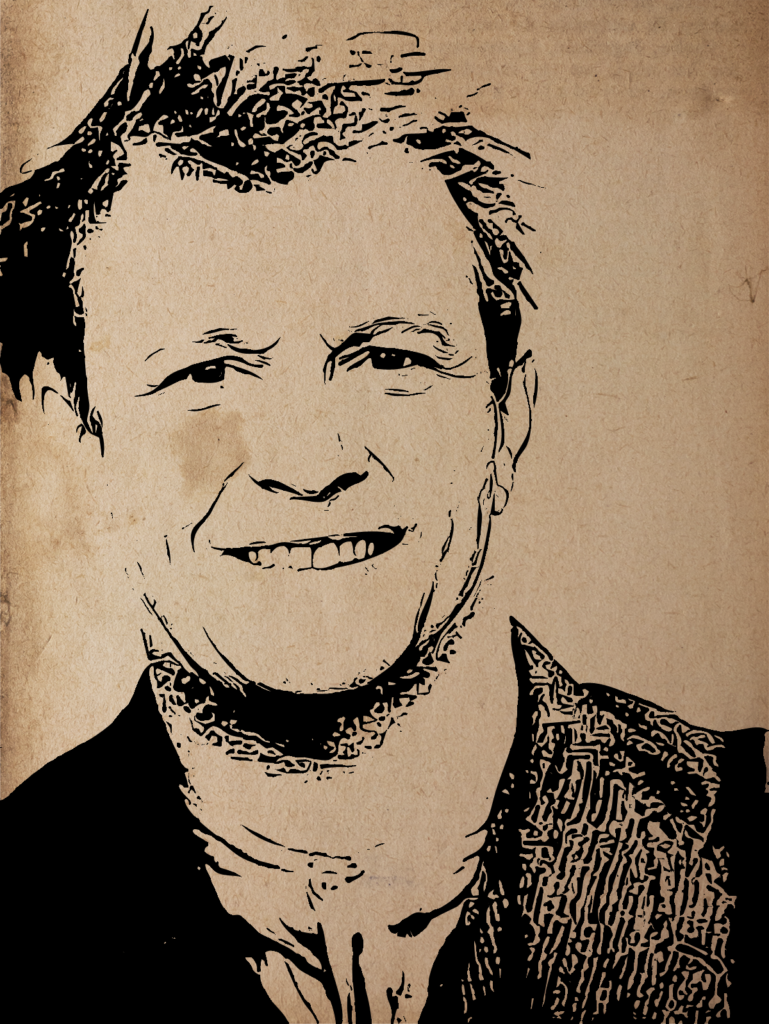
For my last step, to give the photo more of an aged look, I grab a free old paper texture from the internet (this one came from www.wildtextures.com), overlay it in a new layer on top of the picture, and then select Multiply from the layer menu:
…and Done!
That’s it! Thanks to cutting edge graphics technology, these kinds of photo manipulations are easy for anyone to do these days. It takes me about 15-20 minutes to get the look I want for one character, and then I can create more portraits in that style much more quickly.
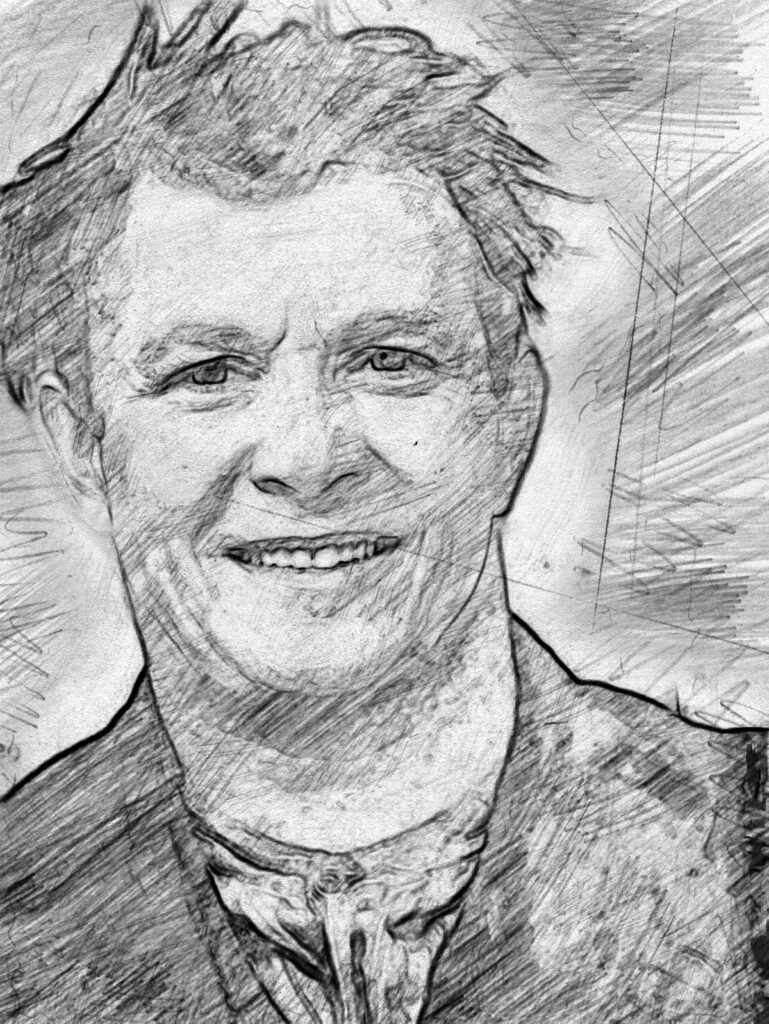
Furthermore, if you are using Photoshop and are getting daring, you can browse marketplaces like Creative Market and purchase Photoshop Actions. Actions are brilliant tools to manipulate and stylize photos to look sketched, aged, hand-drawn, comic-book-like, et multiple cetera. Here’s two examples of what Actions can achieve:
Hopefully this article helps GMs everywhere create some A+ character sheets for their next one-shot adventure!
Note, since I originally wrote this article, I’ve been diving deeper into some crazy and fantastic AI tools to help me be a better GM. Check out my newest YouTube video on the subject:
What tricks have you learned to up the quality of your RPG props? Comment below or tweet me @SageThalcos
This is extremely helpful. I’m an avid amateur with Photoshop, but I mostly use it for modifying maps. Using it for character portraits is brilliant. Thank you!